30-01-2017, Gracido (croak)
My wife had a peluche on the top of her car's cockpit for years. In the past it was possible to squeeze the peluche and make it croak, but the box that contained the speaker melted due to the heating of the vehicle and it was no more possible to play with it. I decided to repair it a year ago… I knew it was an hard mission but I thought I was able to get in touch with the company which made the toy and ask for a spare part… in the worst case I thought I was able to replace it by my own stealing the component from another toy.
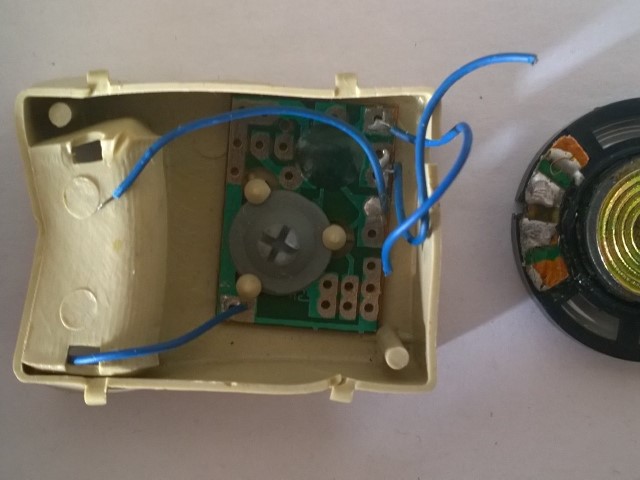
I was not able to get in touch with the company which made the peluche, so I decided to try to design it and print it in plastic.
Once I measured the original box, I modelled it in computer graphics.
I used OpensCAD: a free software that allow to draw 3D objects using a scripting language. I found OpensCAD easy to use, but not enough simple to let me model complex geometries without worries. If you want to create a box using OpensCAD you have to create two boxes and place them in space in order to make them intersect, then you can apply a modification to let one box being cutted by the other.
Once I finished the first prototype, I got in touch with an owner of a 3D printer which was nearest to me: I used www.3dhubs.com as social network. I was able to touch the first prototype of my printed object In few days…but I did not measured the original box well and I did not considered that the 3D printing process differs from the one used for creating the original component!
Gualtiero, whom printed my first prototype, showed me a lot of design errors and he inspired me suggesting to redesign the box in order to make it better:
- The container for the batteries was designed to let user replace batteries without removing the cap, but this type of structure requires more plastic to be printed.
- Walls of the box were too thin to not melt due to the over heating.
- The cap was designed to be stuck with the body of the box, but the joints were too small and hard to reproduce.
- I took wrong measures about the three studs that were blocking the circuit on the bottom side of the box.
- The cap was designed to be the button which engages the electric circuit, thus it was needed to design it in order to make it able to be pressed.
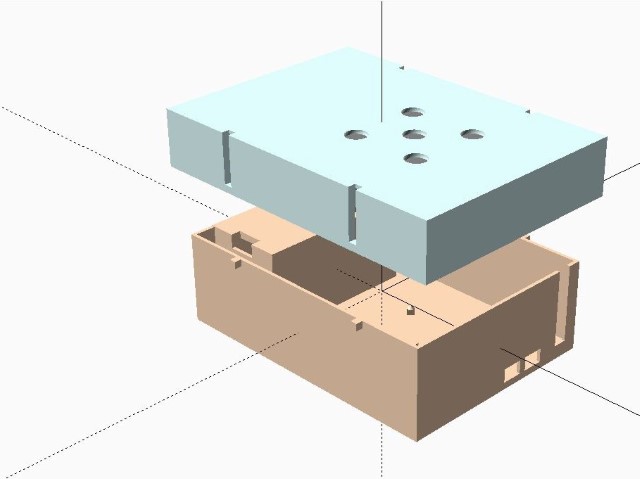
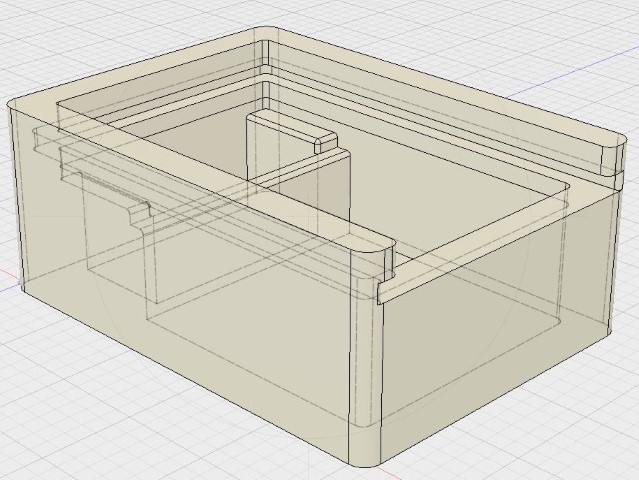
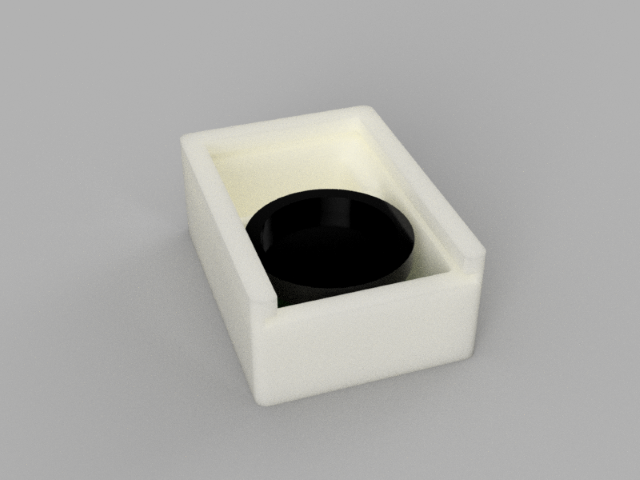
We decided to change the way in which the cap was placed on the box in order to let us to replace the battery container and make the user able to remove easily the cap and access to the content of the box.

We got inspiration from match boxes and we create two rails on the box to let the cap slide in.
We switched from OpensCAD to Autodesk Fusion 360.
Autodesk Fusion 360 provides powerful tools for prototyping shapes and allows to share via internet projects and this allowed us to easily work togheter at the same model.
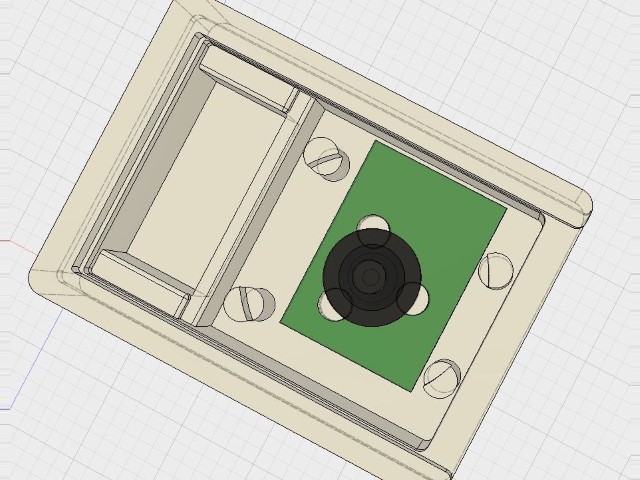
We modeled placeholders for the circuit components to let us organize the space inside the box: we modeled the circuit, the plastic button and the speacker in order to place correctly the battery container and the needed studs for each component.
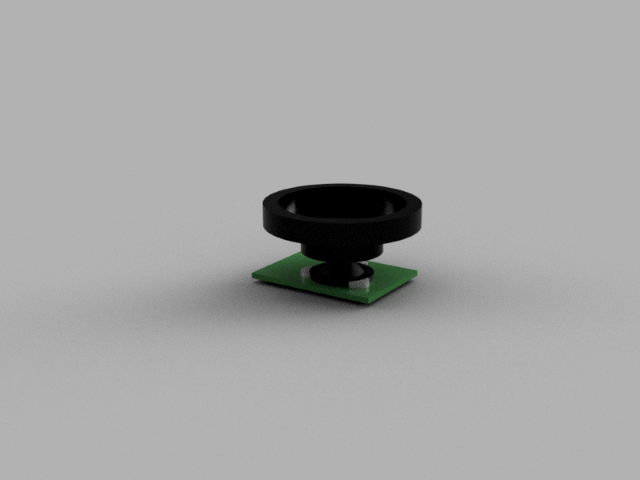
The electric circuit is placed on the bottom of the box and it's blocked by three studs. A plastic button is placed on the top of the circuit and the speaker is placed on top of the plastic button in order to let it be pushed and close the contact on the circuit.
Once we modeled the box, we started to work on the cap.
Gualtiero suggested to use some complex structures like the one available at http://www.thingiverse.com/thing:289650 and let us design a cap able to be deformed.
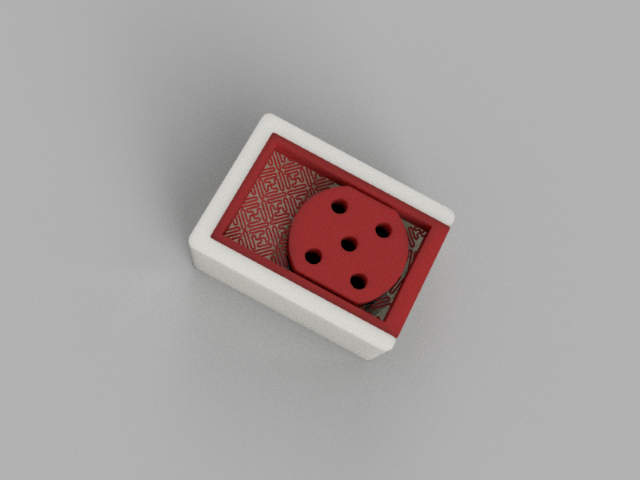
Anyway the first result was not so good because the cap had a small texture and it was not enough strong to last long. Gualtiero re-designed the cap in order to make it more robust and to make possible to identify the right point where the user shall apply the pressure.
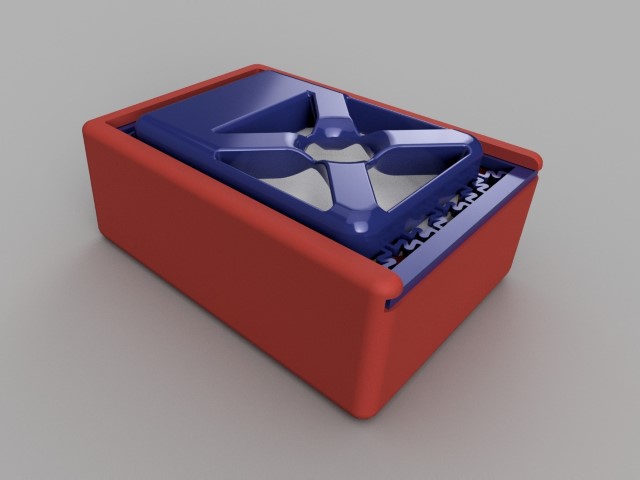
Once we completed the work, we did some prints and we redefined it!
I'm really happy because it proves how working in team allows to obtain better result than making by your own. My special thanks go to Gualtiero for his support and for letting me learn more than I expected.